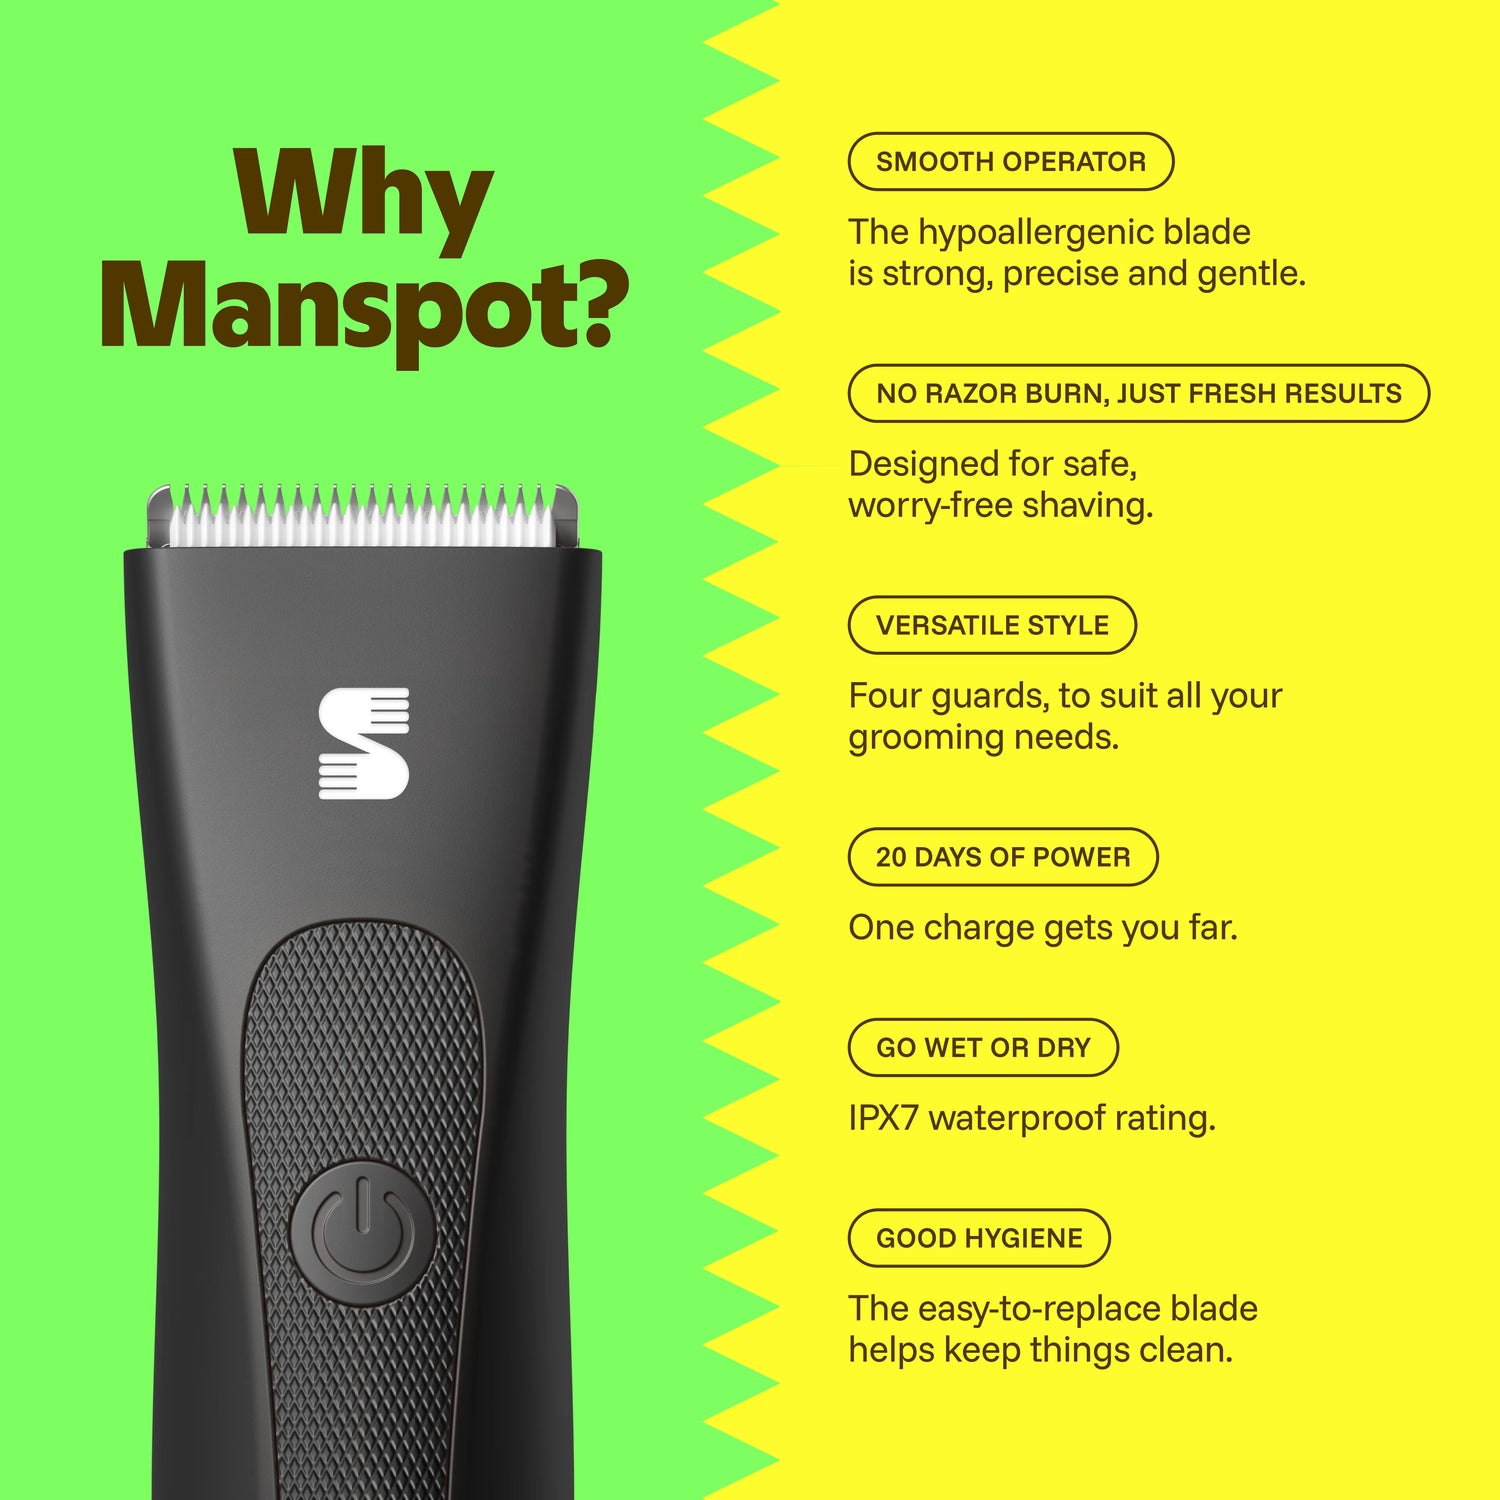
A practical trimming routine should move from preparation to broad body coverage, then finish with controlled work around smaller or more sensitive areas. Start with clean, dry, well-lit skin unless your device instructions specifically support another method. Choose a length guard based on the result you want, trim longer hair gradually, and avoid pressing the tool into the skin.
Use slower movements where visibility is limited or body contours change. Stop if the trimmer pulls hair, becomes unusually warm, damages the skin, or no longer feels easy to control. Cleaning the tool immediately afterward helps maintain cutting performance and prepares it for the next use.
Prepare the Skin and Grooming Area
Good preparation makes trimming easier because the tool has fewer obstacles to work through. Before starting, read the manufacturer’s instructions, especially the sections covering approved body areas, wet or dry use, attachment installation, charging, cleaning, and blade care.
Choose a location with bright, even lighting and enough room to change your position. A large mirror helps with the front of the body, while a handheld mirror may improve visibility around the sides, inner thighs, and other difficult angles. Avoid relying on touch alone when working near folds or curved areas.
Long, tangled, or damp hair may feed unevenly into some trimmers. Gently separate or comb the hair first, and dry the area unless the device is specifically designed for wet use. Check the skin for cuts, active irritation, swelling, or other areas that may be better left alone until they have recovered.
Decide what result you want before choosing an attachment. Maintaining visible length requires a different setup from reducing hair close to the skin. Beginning with a longer guard gives you room to shorten the hair again without immediately removing more than intended.
Set Up the Tool for Control
Install the selected guard securely and confirm that it does not shift when lightly touched. A loose attachment can produce uneven length or expose more of the cutting surface than expected. If the trimmer has adjustable settings, begin with the option that leaves more length.
Coverage efficiency matters on larger areas such as the chest, abdomen, back, arms, and legs. A tool that moves easily through open areas can reduce repeated passes, but speed should not replace control. Use broad, steady strokes only where the surface is relatively flat and clearly visible.
Smaller areas require a different approach. Around the groin, inner thigh, underarm, or edges of body hair, the priority shifts from covering space quickly to following contours accurately. Shorter strokes, a stable grip, and a clear view of the cutting path are usually more useful than rapid movement.
Before the main routine, test the setup on a small, accessible area. This allows you to check the remaining length, cutting direction, noise, heat, and whether the guard is moving smoothly through the hair.
Follow a Broad-to-Precise Trimming Order
Start with the largest and easiest areas. Working from broad coverage toward detailed contouring prevents you from beginning with the sections that demand the most concentration.
-
Reduce excessive length first. If the hair is much longer than your target, use a longer guard for the first pass. Trying to remove all the length at once may increase snagging and make the final result less even.
-
Trim large body areas with overlapping strokes. Move steadily across the chest, abdomen, arms, or legs. Slightly overlap each pass so narrow strips of longer hair are not left between strokes.
-
Check the result from more than one angle. Hair may lie in different directions across the same body area. Change your viewing angle and make limited follow-up passes rather than repeatedly moving over the entire section.
-
Move to smaller transition areas. Reduce your stroke length near the sides of the torso, underarms, upper thighs, and places where the body curves. These sections often require a different hand position or trimming direction.
-
Finish with contour work. Use the clearest available view when shaping edges or controlling length around the groin. Keep the skin surface stable without pulling aggressively, and avoid moving the cutting head into a fold you cannot clearly see.
A body and groin trimmer for men is most useful when the routine treats broad body trimming and detailed contour control as separate tasks. The same device may support both jobs, but your speed, attachment choice, viewing angle, and stroke length should change with the area.
Do not continue making passes simply because a few hairs remain. Pause, brush away loose hair, reassess the surface, and target only the sections that need correction.
Adjust Your Technique by Body Area
The chest and abdomen usually allow longer strokes, but hair direction may change around the center of the chest and below the navel. Begin by following the natural growth pattern. A second, lighter pass from another direction may improve consistency if the device instructions permit it and the skin remains comfortable.
Arms and legs provide more open space, so efficiency comes from keeping the trimmer flat and maintaining a regular pattern. Work in sections instead of moving randomly. Around elbows, knees, ankles, and wrists, shorten the stroke because the surface angle changes quickly.
Underarms combine curved skin, limited visibility, and hair growing in several directions. Raise the arm only as far as needed to improve the view, and use controlled passes. Avoid repeatedly working over the same spot if the skin begins to feel irritated.
For the groin and inner thighs, visibility and control take priority over speed. Use a mirror or adjust your position so you can see the entire cutting path. A guard can help maintain a consistent buffer, but it does not remove the need for careful handling or compliance with the device instructions.
When creating a border between trimmed and untrimmed hair, make small adjustments rather than attempting one perfect line. Step back, review both sides, and correct gradually. This is more reliable than removing extra hair to fix an uneven edge.
Clean the Tool After Every Routine
Turn the trimmer off before removing guards or handling the cutting assembly. Follow the manufacturer’s cleaning instructions because some parts may be washable while others should only be brushed or wiped.
Remove trapped hair from the guard, blade area, and attachment joints. Hair buildup can reduce cutting efficiency and cause the tool to require more passes during the next session. Allow washable parts to dry completely before reassembly or storage.
Inspect the cutting area for visible damage, residue, corrosion, or loose components. Use only the lubrication method and products recommended for the device. Adding unapproved oils or cleaning chemicals may affect materials or interfere with normal operation.
Store the trimmer in a clean, dry location where attachments will not bend or collect debris. Charging practices should also follow the supplied instructions rather than a general rule, since battery care can differ between devices.
Avoid Common Routine Mistakes
One frequent mistake is starting with the shortest setting. Removing length gradually gives you more control and makes it easier to correct uneven sections.
Another mistake is using the same movement everywhere. Large body areas may suit longer strokes, while curved or less visible areas require slower, shorter passes. Treating every area identically can reduce both efficiency and precision.
Pressing harder does not necessarily produce a closer or more even result. Excess pressure may flatten the guard, reduce maneuverability, or increase skin contact. Let the cutting system do the work while maintaining light, consistent control.
Repeatedly trimming an area that already feels warm or irritated is also unhelpful. Stop using the device if you notice pulling, pinching, unusual heat, damaged skin, unexpected discomfort, or a change in tool performance. Clean and inspect the trimmer, review the instructions, and reconsider the attachment or technique before continuing.
Do not use the tool on areas that the manufacturer excludes. A device designed for external body grooming should not be assumed suitable for every surface or condition.
Confirm the Routine That Works for You
An effective body-grooming routine separates fast coverage from precise contour work. Prepare the skin and workspace, start with a conservative guard, trim large areas first, and slow down as visibility decreases or body contours become more complex.
The best routine is not the one that removes the most hair in the fewest passes. It is the one that gives you predictable length, clear control, manageable cleanup, and a repeatable process that stays within the device instructions. When the tool or skin gives you a reason to pause, stop and reassess rather than forcing the session to continue.